Being Human
Related Articles


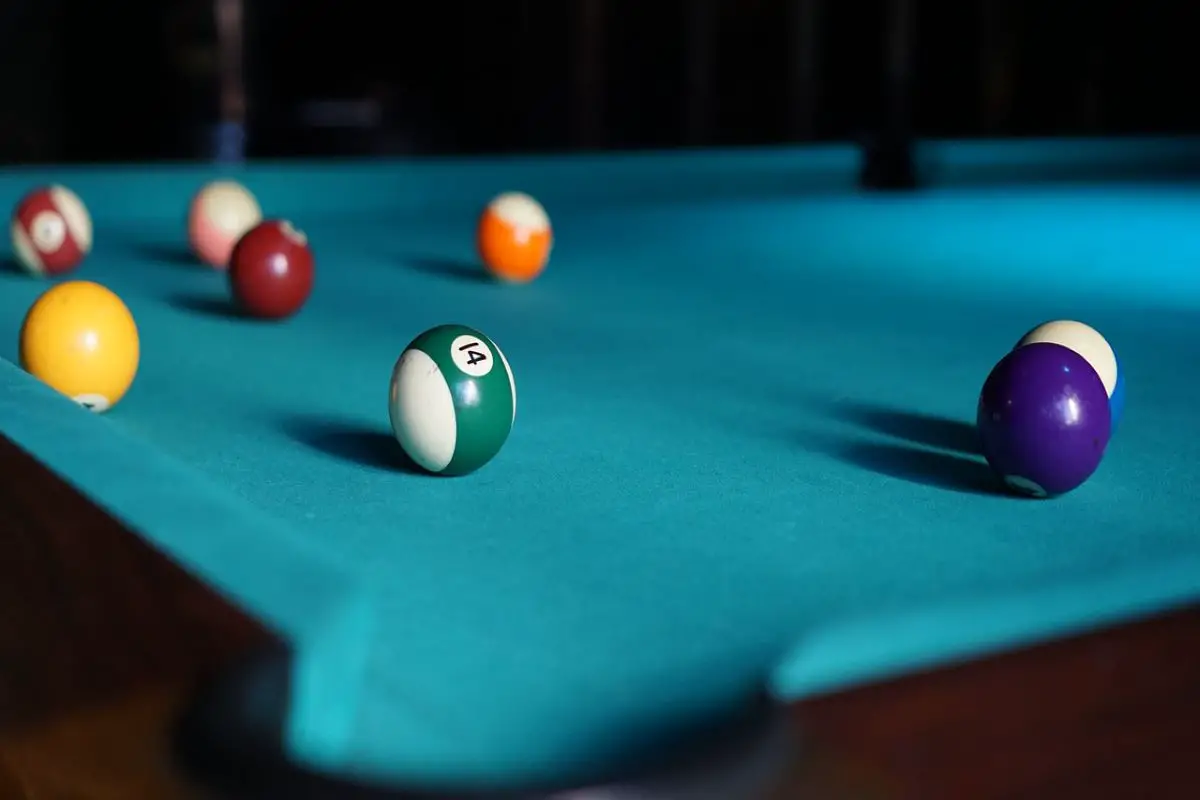
Pool is a widely popular recreational game, usually played in bars or a pool hall. However, despite being able to shoot pool, not many know how to properly set up or rack up a game. So, how to rack pool balls?
In general, you rack pool balls by using the racking frame, placing and then arranging them in a particular format. The goal is to ensure a tight arrangement for balls to break well, and both suites have an equal chance to enter a pocket when the rack is broken.
This post will look at how you can set up and rack an 8-ball and a 9-ball pool game. The process will be explained in detail as well.
How To Rack A 8-Ball Pool
8-ball pool may be the most popular pool game many people play. This is because it involves 15 balls. Each player tries to pocket a suit of balls of choice, which could be solids of stripes. Once they finish pocketing the seven balls in their suit, they can then shoot in the black ball (often called the 8th ball).
During the earlier phase of the game, if a player pockets a ball, they may continue to shoot and pocket as many balls as possible. If there is a miss, the other player takes over and tries to pocket his or her suit of balls.
Depending on the variation the game is played in, players may have to declare which pocket they want to shoot the black ball to. If the player mis-pocket the ball to another pocket, the player loses automatically.
The game may be played as a single game or a series where players ‘race’ to see who can win a predetermined number of games first.
To rack an 8-ball game, prepare the following:
- Pool rack/triangle.
- Pool balls. There should be 15 balls, numbered from #1 to #15
- Cue ball. Cue balls are usually white in color. Some may have red dots on the surface.
- Pool table
- Cue sticks
To rack the balls to start a game, you may follow the steps below:
- Start by determining who gets to break the rack. Usually, you may do a coin toss or a lag test.
- A lag test is usually done by shooting a cue ball across the table and bouncing it off a cushion.
- The player whose ball rolls back closest to their starting spot wins. The winner gets to call if he or the opponent gets to break the rack.
- If you have a referee or someone not playing, they can rack the game for you.
- If there is no referee, the person who will break the rack will be the one arranging it.
Now that you have determined who the person to rack is, the next step is to actually set up the balls.
- Identify the foot spot on the pool table. The spot is marked and usually at the center of the table, between the side and center pockets.
- Now, place your ball rack on the foot spot, with the top point right on the foot spot. The rack is in an equatorial triangle, meaning they have the same length and angle, no matter which corner you use.
- Ensure the foot spot is visible to you, slightly inside and under the ball rack. This area is called the apex.
- At the same time, try your best to ensure the bottom line of the rack runs parallel to the bottom cushion of the table.
Now that the rack position is adjusted, you may start to place the balls.
- Insert any ball other than the 8-ball into the triangle’s apex. Choose one of the seven striped or seven solid balls and place it on top of the foot spot inside the rack.
- Many players prefer to place the 1-ball at the apex of the rack, but there are no official rules governing which ball should be placed there.
- Place a solid ball in one corner. Place a striped ball in the other corner. This is to ensure an equal chance of one of them landing in a pocket.
- At this stage, you should have three balls in each rack corner.
- Put in the rest of the balls, leaving the center empty, as that is reserved for the 8-ball. There are no rules for placing the other balls, but generally, players like to alternate between striped and solid balls.
- Some players also like to position a stripe and a solid ball in the bottom two spots in the inner triangle. The top is for the 8-ball.
- Place in the 8-ball. The 8-ball is placed in the middle to reduce the likelihood of being pocketed too early. This helps to avoid the game ending too early.
You may notice that the balls still have some wiggling space. The next few steps would be to tighten the ball arrangements and place them in their final position.
- Make sure the rack is packed tightly by rolling it up and down. Place your fingers behind the bottom row of balls on the rack, and then nudge the rack gently forward.
- Reposition the rack so the base is parallel to the table’s back and the apex ball is aligned with the foot point location.
- Lift up the rack from the balls, careful not to touch the balls.
- Observe the final result, especially on the tightness between the balls. Consider reracking if necessary.
How To Rack A 9-Ball Pool
9-ball pool is less popular than 8-ball but is also widely played due to the speed of the game. A 9-ball game could be finished faster than an 8-ball and may involve different strategies that appeal to different players.
In a 9-ball pool, players try to sink balls into the pocket, in the order of 1-ball to 9-ball. When a player pockets a ball, he or she will continue to pocket balls of the following number. When a player misses, the opponent takes over and continues from the lowest number on the table.
A game ends when a player pockets the 9-ball into one of the pockets. When this happens, the 9-ball should usually be the final ball on the table.
A player may also end a game if they can use the cue ball to hit the lowest-numbered ball on the table, and this ball hit on the 9-ball and pocketed it.
Similar to an 8-ball pool, a 9-ball pool may also be played as a single game or a series where players ‘race’ to see who can win a predetermined number of games first.
To rack a 9-ball game, prepare the following:
- Diamond pool rack. You may use a triangle rack if not available, but the ball will be a little loose.
- Pool balls. There should be 9 balls, numbered from #1 to #9
- Cue ball. Cue balls are usually white in color. Some may have red dots on the surface.
- Pool table
- Cue sticks
To rack the balls to start a game, you may follow the steps below:
- Start by determining who gets to break the rack. Usually, you may do a coin toss or a lag test.
- A lag test is usually done by shooting a cue ball across the table and bouncing it off a cushion.
- The player whose ball rolls back closest to their starting spot wins.
- The winner gets to call if he or the opponent gets to break the rack.
- If you have a referee or someone not playing, they can rack the game for you.
- If there is no referee, the person who will break the rack will be the one arranging it.
Now that you have determined who the person to rack is, the next step is to actually set up the balls.
- Identify the foot spot on the pool table. The spot is marked and usually at the center of the table, between the side and center pockets.
- Now, place your ball rack on the foot spot, with the top point right on the foot spot. The rack is in an equatorial triangle, meaning they have the same length and angle, no matter which corner you use.
- Ensure the foot spot is visible to you, slightly inside and under the ball rack. This area is called the apex.
Now that the rack position is adjusted, you may start to place the balls.
- Place the 1-ball on the apex of the rack. In a 9-ball pool, you must place the 1-ball at the apex, making it different from the 8-ball rules.
- Lay in the other balls, keeping to the 1-2-3-2-1 arrangement. If you lay the balls in correctly, you should have a diamond shape.
- There are no official requirements that the balls must be arranged in order. However, some players like to arrange all the balls in order.
- However, regardless of the rules, the center of the diamond must be the 9-ball. This reduces the likelihood of the ball being pocketed too early in the game.
You may notice that the balls still have some wiggling space. The next few steps would be to tighten the ball arrangements and place them in their final position.
- Make sure the rack is packed tightly by rolling it up and down. Place your fingers behind the bottom row of balls on the rack, and then nudge the rack gently forward.
- Reposition the rack so that the apex ball matches the foot location.
- Lift up the rack from the balls, careful not to touch the balls.
- Observe the final result, especially on the tightness between the balls. Consider reracking if necessary.